Using Team Foundation Version Control with Command Line
When creating a new project in Visual Studio, there are two options for version control: Git, which is distributed version control, and Team Foundation Version Control (TFVC), which is centralized version control. Personally, I am a Git advocate, but my team selects TFVC as the version control tool. Generally, I prefer using Visual Studio Code to write code rather than Visual Studio. Therefore, I have to learn how to use the TFVC commands, for VS Code does not feature TFVC.
Creating Projects with Team Foundation Version Control
Visual Studio Team Services are free for a small team. Use your Microsoft account to login.
Create a new test project.
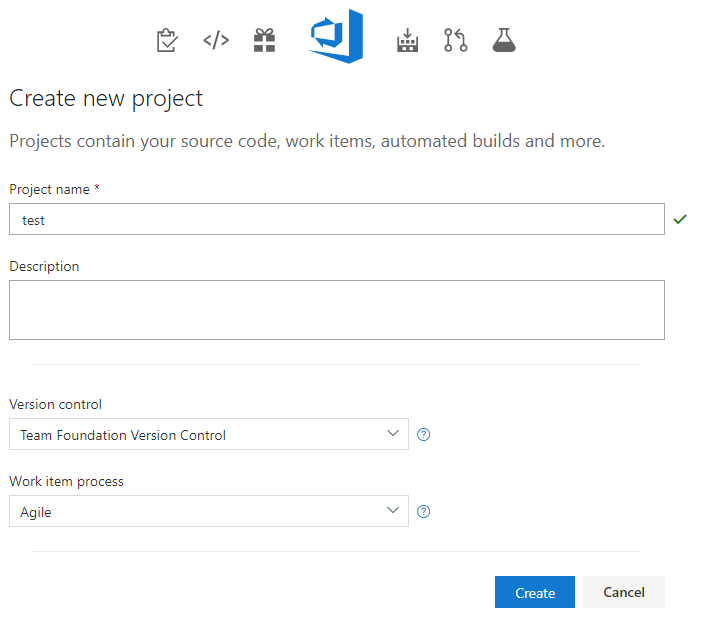
The default version control option is Git. Change it to Team Foundation Version Control.
TFVC Command Operation
Once a project is created online, how to download it as git clone?
Run the command:
tf workspace /new /collection:https://{ youraccount }.visualstudio.com/
A configuration window pops up.
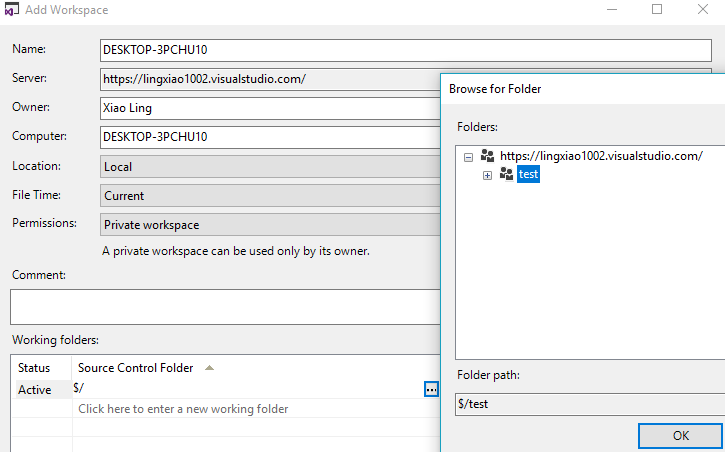
Select a repository and click OK. Then you will get all files to the local system.
Try to create a new index.htm file and add it to team foundation.
tf add index.htm
Check the status:
tf stat
Check in the file:
tf checkin
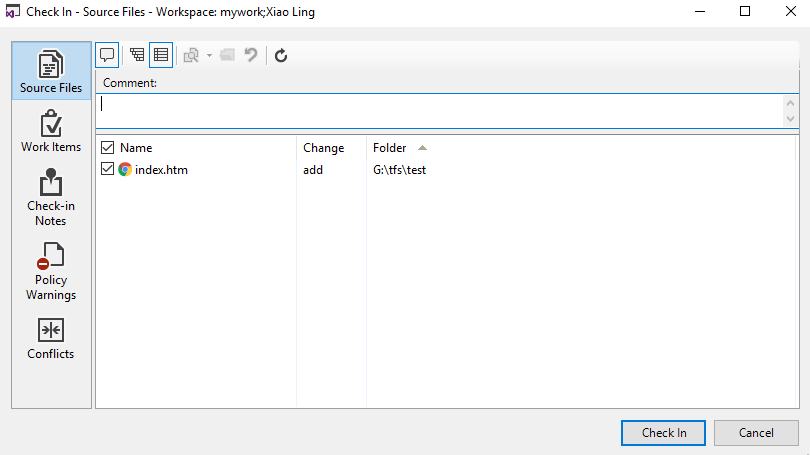
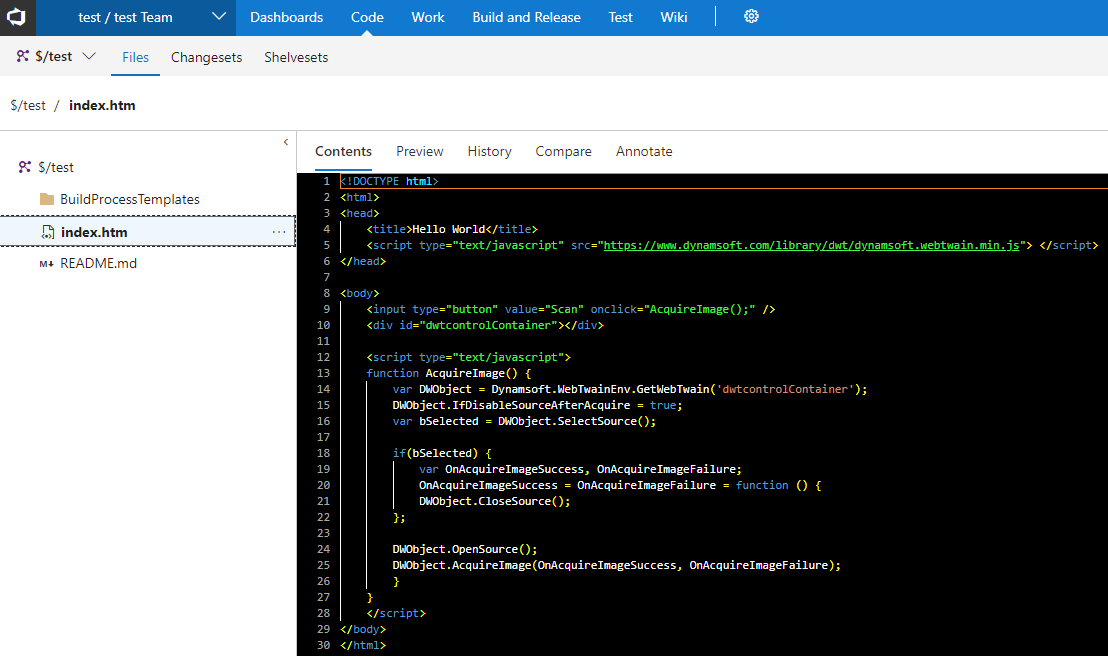
Visit https://{youraccount}.visualstudio.com/test/_versionControl and you will see the file.
Personal Access Token
Visit https://{youraccount}.visualstudio.com/_details/security/tokens to generate a personal access token.
Workspace setting
Press F1 to navigate to workspace settings. Add your account URL and the project name.
{
  "team.remoteUrl": "https://{youraccount}.visualstudio.com/",
  "team.teamProject": "{projectname}"
}

Select signin and paste your personal access token.

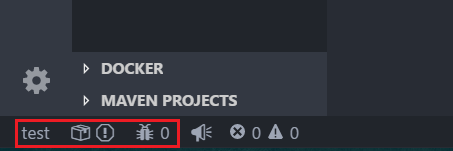
Now you can see project status in the status bar.