How to Fully Control Webcam Stream Params in HTML Page
If you want to open webcam stream in a web browser, what technology will you choose? Probably many developers’ answer is HTML5. Yes, with the JavaScript API getUserMedia, it will be pretty easy to open webcam within web browsers. However, the API is not supported by some old web browsers like Internet Explorer 6, 7 and 8. Besides that, the HTML5 interface cannot fully configure camera parameters such as exposure, focus and etc. Therefore, if you want to build a professional camera solution for a web project, HTML5 is not the best choice. This is why Dynamsoft made the solution. Dynamsoft Camera SDK is a JavaScript webcam SDK for Windows with DirectShow under the hood. It allows developers to quickly build online webcam viewer with a few lines of HTML and JavaScript code and fully control and adjust camera settings within web browsers.
How Does Dynamsoft Webcam SDK Work
The SDK includes two core modules: JavaScript library and webcam service:
- JavaScript Library runs within a web browser. It communicates with the webcam Windows Service via HTTP. It accepts and sends users’ operation requests to the webcam service, and processes results from the service.
- Webcam Service listens on 127.0.0.1 and handles the interface with cameras (via DirectShow) and passes the response to the JavaScript layer.
Your First HTML Webcam Stream Viewer
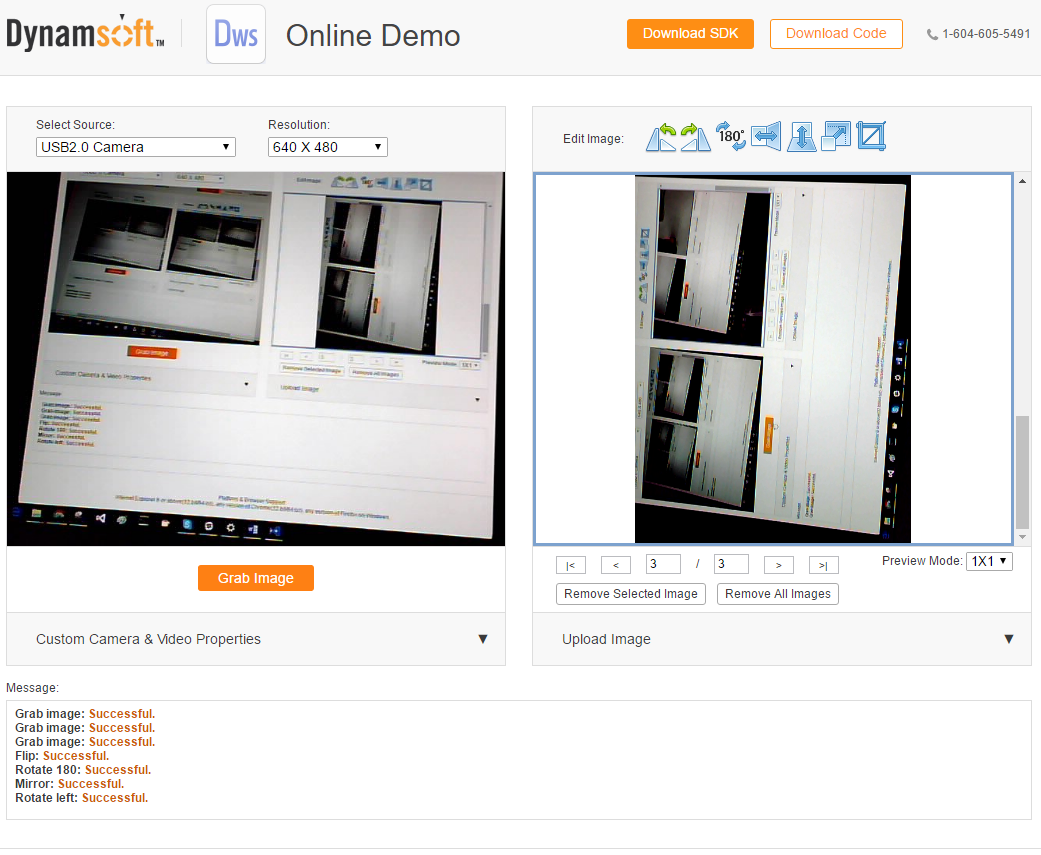
Get Dynamsoft Webcam SDK
Getting Started: Hello World
Capture Images with Webcam Viewer in Web Browsers
Create index.html folder to your project.
Include dynamsoft.camera.min.js:
<script type="text/javascript" src="http://www.dynamsoft.com/library/dcs/dynamsoft.camera.min.js"> </script>
Create a video viewer and an image viewer for initializing Dynamsoft Webcam object:
<div id="video-container"> </div>

<div id="image-container"> </div>

<script type="text/javascript">

var dcsObject, imageViewer;

var width = 480, height = 320;

function onInitSuccess(videoViewerId, imageViewerId) {
  dcsObject = dynamsoft.dcsEnv.getObject(videoViewerId); // Get the Dynamsoft Webcam object
  dcsObject.videoviewer.setWidth(width);
  dcsObject.videoviewer.setHeight(height);

  imageViewer = dcsObject.getImageViewer(imageViewerId); // Get a specific image viewer
  imageViewer.ui.setWidth(width);
  imageViewer.ui.setHeight(height);
}
function onInitFailure(errorCode, errorString) {
  alert('Init failed: ' + errorString);
};

dynamsoft.dcsEnv.init('video-container', 'image-container', onInitSuccess, onInitFailure);
<script>
After getting dcsObject and imageViewer, you can specify the width and height.
List camera sources in <select> element and play the selected source. The default source index is 0:
<select size="1" id="source" width="220px" onchange="onSourceChanged()"></select>

<script type="text/javascript">
var cameraList = dcsObject.camera.getCameraList(); // Get a list of available cameras
for (var i = 0; i < cameraList.length; i++) {
  document.getElementById("source").options.add(new Option(cameraList[i], i));
}

if (cameraList.length > 0) {
  // Call this method to take the ownership,
  // in case the listed camera is occupied by another Dynamsoft Webcam process.
  dcsObject.camera.takeCameraOwnership(cameraList[0]);
  dcsObject.camera.playVideo();
} else {
  alert('No camera is connected.');
}
<script>
Change camera source and play the video stream:
<script type="text/javascript">
function onSourceChanged() {
  if (!dcsObject) return;
  var source = document.getElementById("source");
  var camera = source.options[source.selectedIndex].text;
  dcsObject.camera.takeCameraOwnership(camera);
  dcsObject.camera.playVideo();
};
<script>
Create a button to capture images:
<input type="button" value="Capture" onclick="onCapture();" />
<script type="text/javascript">
function onCapture() {
  if (!dcsObject) return;
  dcsObject.camera.captureImage('image-container');
  if (dcsObject.getErrorCode() !== EnumDCS_ErrorCode.OK) {
    alert('Capture error: ' + dcsObject.getErrorString());
  }
};
<script>
Destroy Dynamsoft Webcam object before the web page is closed:
<script type="text/javascript">
window.onbeforeunload = function() {
  if (dcsObject) dcsObject.destroy();
};
<script>
Save Image Files to Local Disk
Usually, if you want to save an image to local disk from a web browser, you can right-click on the image and select “save image as”. Dynamsoft Webcam SDK disabled the mouse right–click, so how can you save the image?
Using DCS JavaScript API, we can convert the selected image to Base64:
var data = imageViewer.io.convertToBase64([imageViewer.image.getIndex()], imageViewer.io.EnumImageType.PNG);
The first parameter in convertToBase64() is an array. You need to cast image index with []. Why array? The image viewer allows users to multi-select images by pressing Ctrl or Shift key in order to export PDF and TIFF files:
var data = imageViewer.io.convertToBase64(imageViewer.image. getSelectedIndices(), imageViewer.io.EnumImageType.PDF);
Be careful of the second parameter - image type, if you use multi-selection for PNG, the returned value is null.
Create a new element <a> and specify the file name and URL. The code only works for Chrome:
var link = document.createElement('a');
link.download = "tmp.png";
link.href = "data:image/png;base64," + data;
link.click();
Another tricky way is to open developer console and find the image element:
<img class="ds-dcs-img-obj" onmousedown="return false;" unselectable="on" draggable="false" src="http://127.0.0.1:18620/img?session=session_1480636765866833_45&object=dcsObject_845825688&imageviewer=imageViewer_964125688&index=0&ts=1480661108599" style="position: absolute; top: 0px; left: 27px; width: 424px; height: 318px;">
Copy and open the URL in a new tab. You can now save the image by right-clicking.